

Replace a valve stem by removing the wheel, fully deflating the tire, breaking the tire bead from the rim, pulling out the old stem, and inserting a new one from the inside of the wheel using needle-nose pliers. The whole process takes 15-30 minutes and costs just $5-15 in parts DIY, versus $25-100 total at a shop — though many tire shops replace the stem for free when you’re already buying new tires.
Here’s the full step-by-step process, how to know when a valve stem actually needs replacing, and how DIY and professional costs compare.
Key Takeaways
- DIY replacement costs just $5-15 in parts and takes 15-30 minutes for a beginner with the right tools.
- Professional replacement runs $25-100 total, combining a $5-30 part cost with $20-70 in labor.
- Many shops replace the valve stem for free when installing a full set of new tires.
- A soapy water test around the new stem confirms a good seal — no bubbles means you’re done.
Signs a Valve Stem Needs Replacing
A slow, persistent air leak that isn’t caused by a puncture elsewhere in the tire is the most common sign of a failing valve stem — cracked, dry rotted rubber on the stem, or visible corrosion on a metal stem, are both clear visual indicators worth checking directly (Tire Advise). Valve stems degrade with age and UV exposure over time, similar to other rubber components on a vehicle, making them a reasonable thing to inspect whenever you’re already having tire work done.

The DIY Replacement Process
A valve stem replacement is genuinely approachable for beginners, doable in under 30 minutes at home with the right tools (AutoNation Mobile Service).
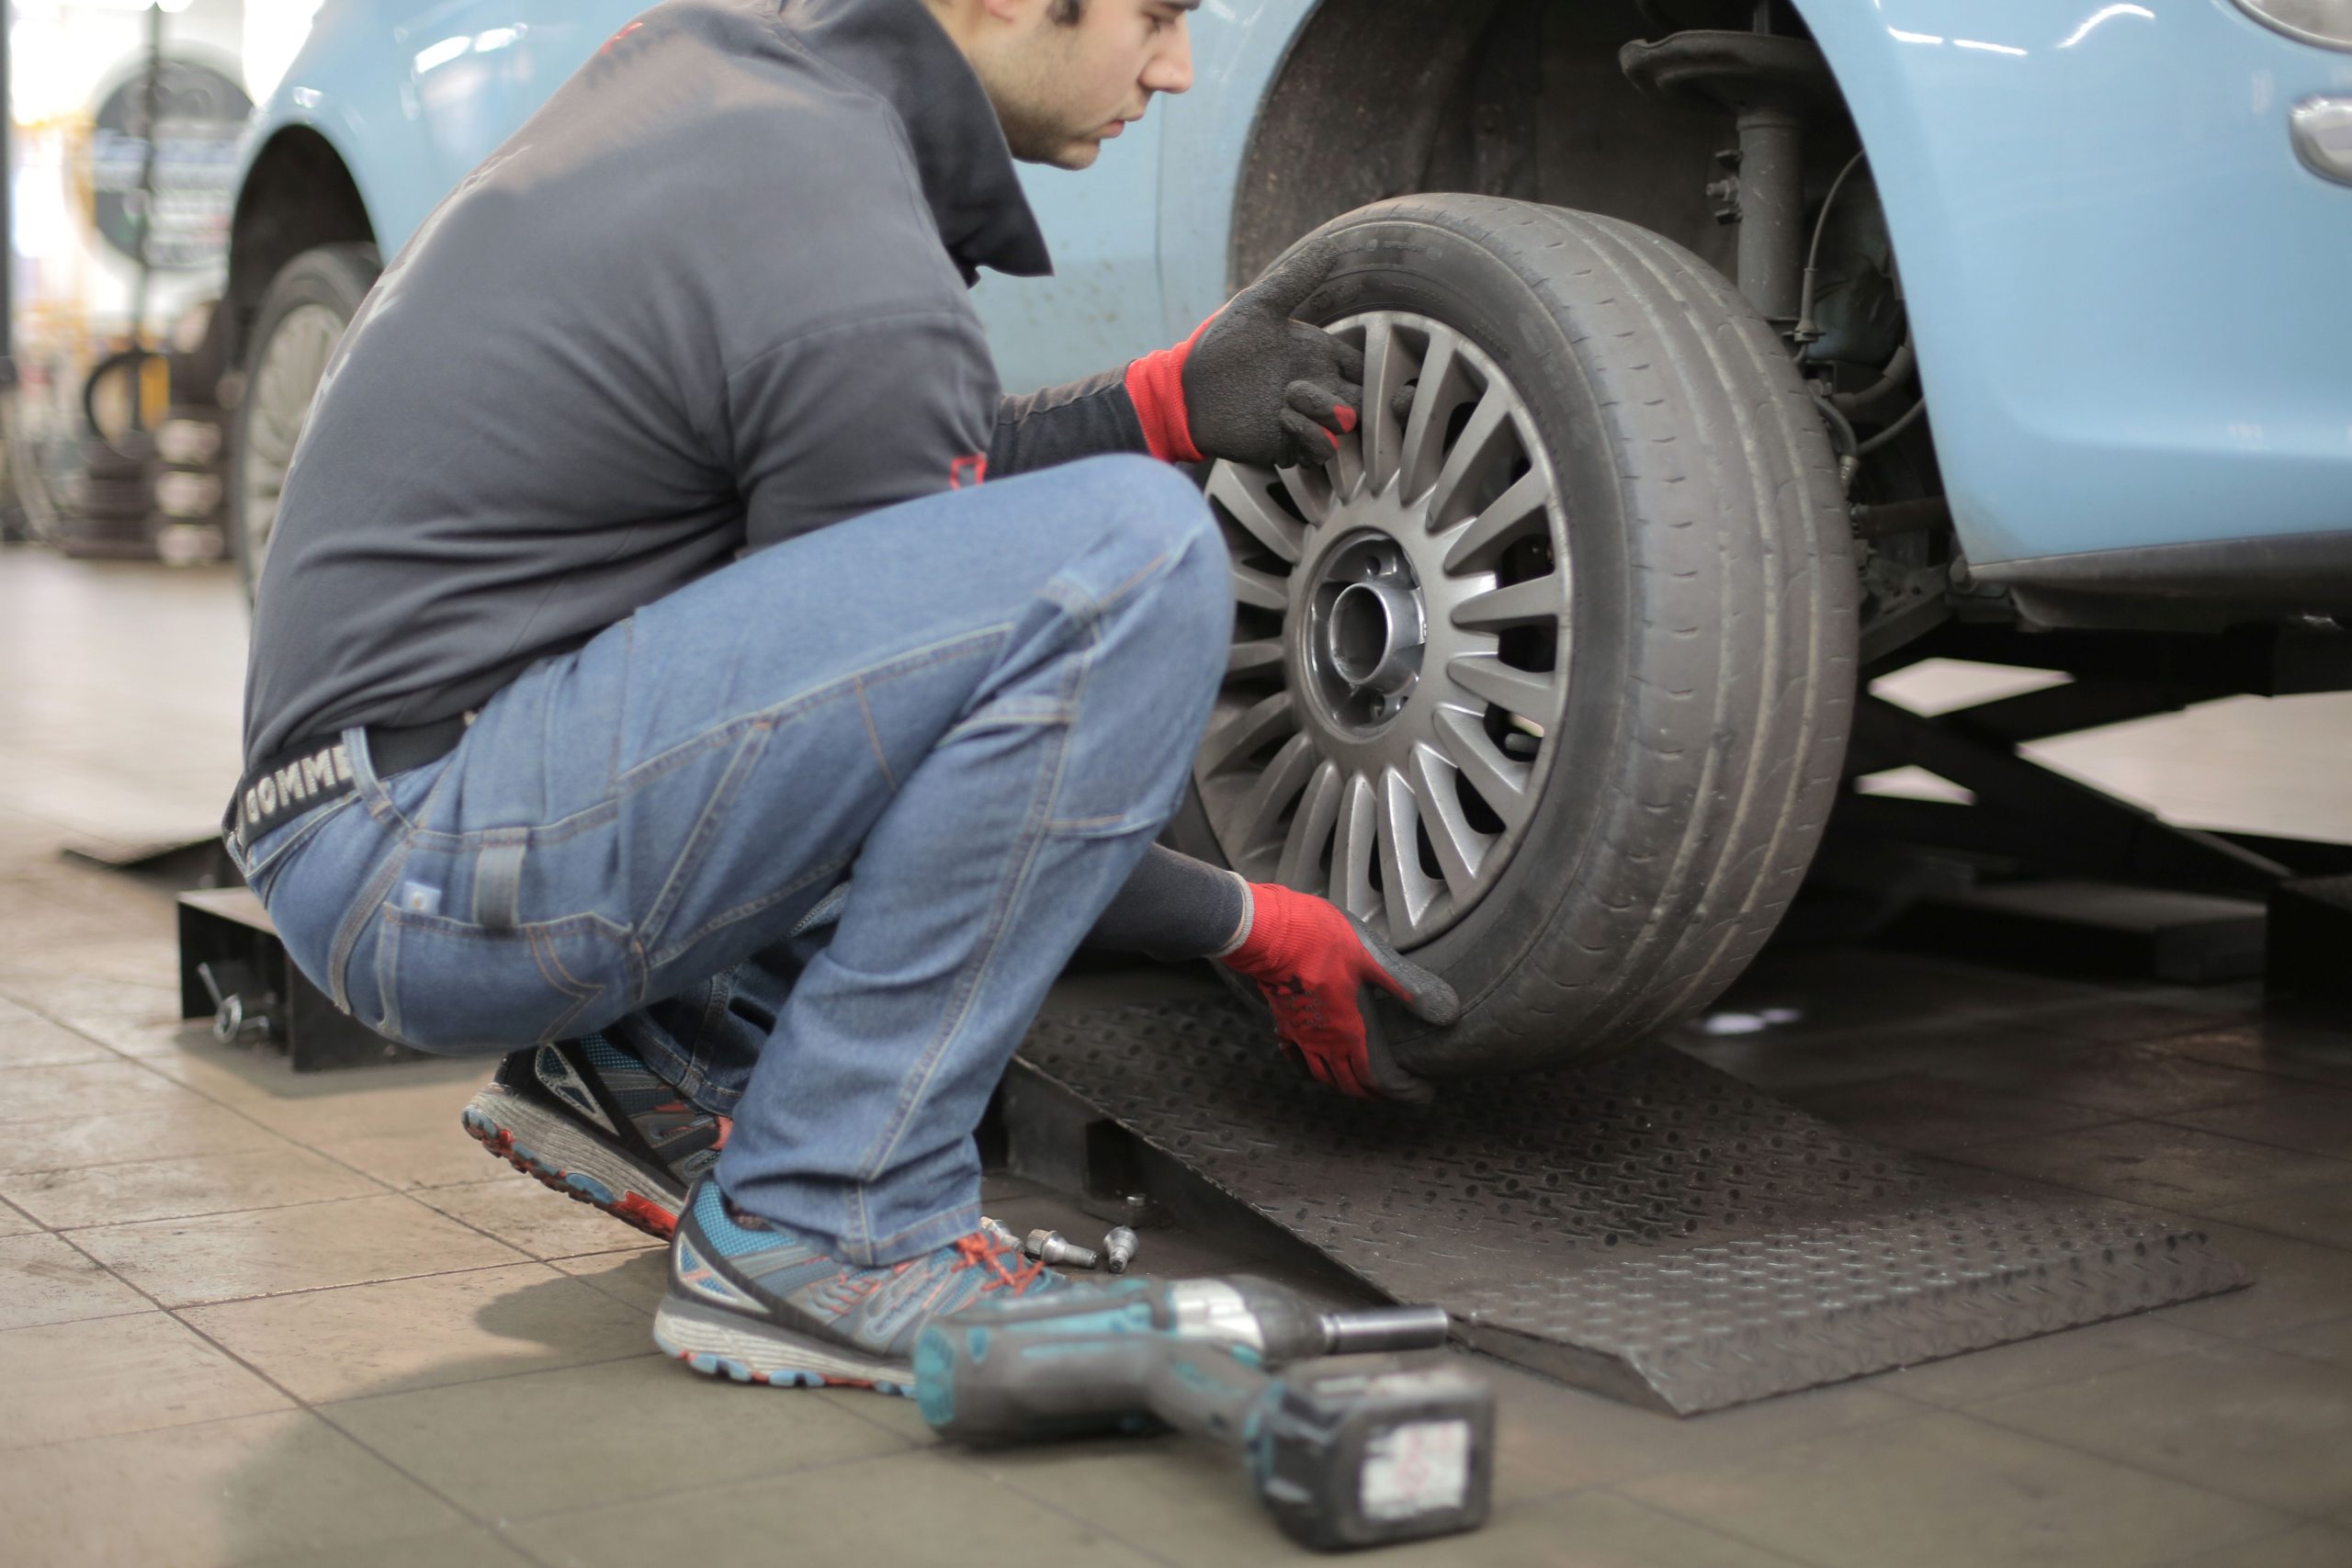
- Prepare the vehicle — park on flat ground, engage the parking brake, loosen the lug nuts slightly while the car is still on the ground, then jack it up and secure it on jack stands.
- Remove the wheel — fully remove the lug nuts and take the wheel off the vehicle.
- Deflate the tire — use a valve core tool to remove the core, letting all remaining air out quickly.
- Break the tire bead — use a bead breaker tool, or carefully work around the tire’s edge with a pry bar to separate the bead from the wheel rim.
- Replace the stem — remove the old valve stem from the wheel, then insert the new stem into the valve hole from the inside of the wheel, pulling it into place with needle-nose pliers.
- Remount and test — remount the tire on the rim, inflate to your vehicle’s specified PSI, and run a soapy water test around the new stem; no bubbles forming means you have a good seal.
If you’re not confident about the correct PSI for your specific vehicle after reinstalling the tire, our guide on how to put air in a tire covers finding the correct pressure on your door jamb sticker. And if the valve stem issue turned out to be a symptom of a larger tire problem, our guide on how to read a tire sidewall helps confirm you’re working with the correct tire size and specifications.
DIY vs. Professional Cost
| Approach | Cost | Time |
|---|---|---|
| DIY | $5-15 (parts only) | 15-30 minutes |
| Professional shop | $25-100 total | Same-day, often while you wait |
| Included with new tire purchase | Often free | Bundled into installation |
Standard valve stems generally cost $5-30 for the part itself, with labor charges from $20-70 depending on the specific tire shop, putting the total professional cost around $25-100 (AutoRivet). If you’re already buying a full set of new tires, ask whether valve stem replacement is included — many shops replace stems automatically as standard practice during new tire installation at no additional charge.
When to DIY vs. When to Let a Shop Handle It
DIY makes the most sense if you already own basic tire tools — a bead breaker, valve core tool, and jack stands — and are comfortable working around a tire under some residual pressure. If you don’t already have this equipment, the cost of acquiring it for a single valve stem replacement often exceeds what a shop would charge, making professional service the more practical choice for a one-off repair.
Frequently Asked Questions
Can a valve stem be repaired instead of replaced?
Not typically — unlike a punctured tire tread, which can sometimes be patched, a damaged or leaking valve stem is generally replaced outright rather than repaired, since the part itself is inexpensive and a repair wouldn’t offer comparable reliability.
Do all four tires need new valve stems at the same time?
Not necessarily, unless all four show signs of wear or you’re replacing a full tire set — but since stems degrade with age and typically wear out around the same time as the tires themselves, replacing all four together is common practice when doing a full tire replacement.
Are TPMS-equipped valve stems different to replace?
Yes — valve stems integrated with a tire pressure monitoring system sensor are more complex and expensive than a standard rubber snap-in stem, and replacement often requires resetting or reprogramming the TPMS sensor afterward, which is where professional service becomes more clearly worthwhile.
How long does a new valve stem typically last?
Rubber valve stems generally last several years under normal conditions, similar to the lifespan of the tires themselves, though UV exposure and extreme temperature cycling in some climates can shorten that somewhat.
The Bottom Line
Replacing a valve stem is a genuinely approachable DIY task — 15-30 minutes and $5-15 in parts if you have basic tire tools, versus $25-100 at a shop, which is often free anyway when bundled with new tire installation. Watch for a persistent slow leak or visibly cracked rubber as your sign it’s time, and always confirm the seal with a soapy water test before considering the job done.
Dealing with a persistent tire pressure issue or wheel damage? Contact San Diego Bumper and Collision for an inspection.



