

Change a headlight by letting the housing cool first, accessing the bulb from behind the headlamp assembly in the engine bay, twisting the old bulb counterclockwise (or releasing its retaining clip) to remove it, and installing the new bulb with clean, gloved hands before twisting it clockwise to lock in place. The whole process takes about 5-10 minutes per side in your own driveway with no special tools required.
Here’s the full step-by-step process, why glove use actually matters, and how to confirm the new bulb is working correctly before you’re done.
Key Takeaways
- The whole process takes just 5-10 minutes per side for most vehicles, no special tools needed.
- Always handle new bulbs with gloves — skin oils transferred to the glass can cause the bulb to fail prematurely from uneven heating.
- Let the housing cool first if the headlights were recently on, to avoid burns from a hot bulb or housing.
- Always test all headlight settings afterward — low beam, high beam, and any adjacent bulbs — not just the one you replaced.
The Step-by-Step Process
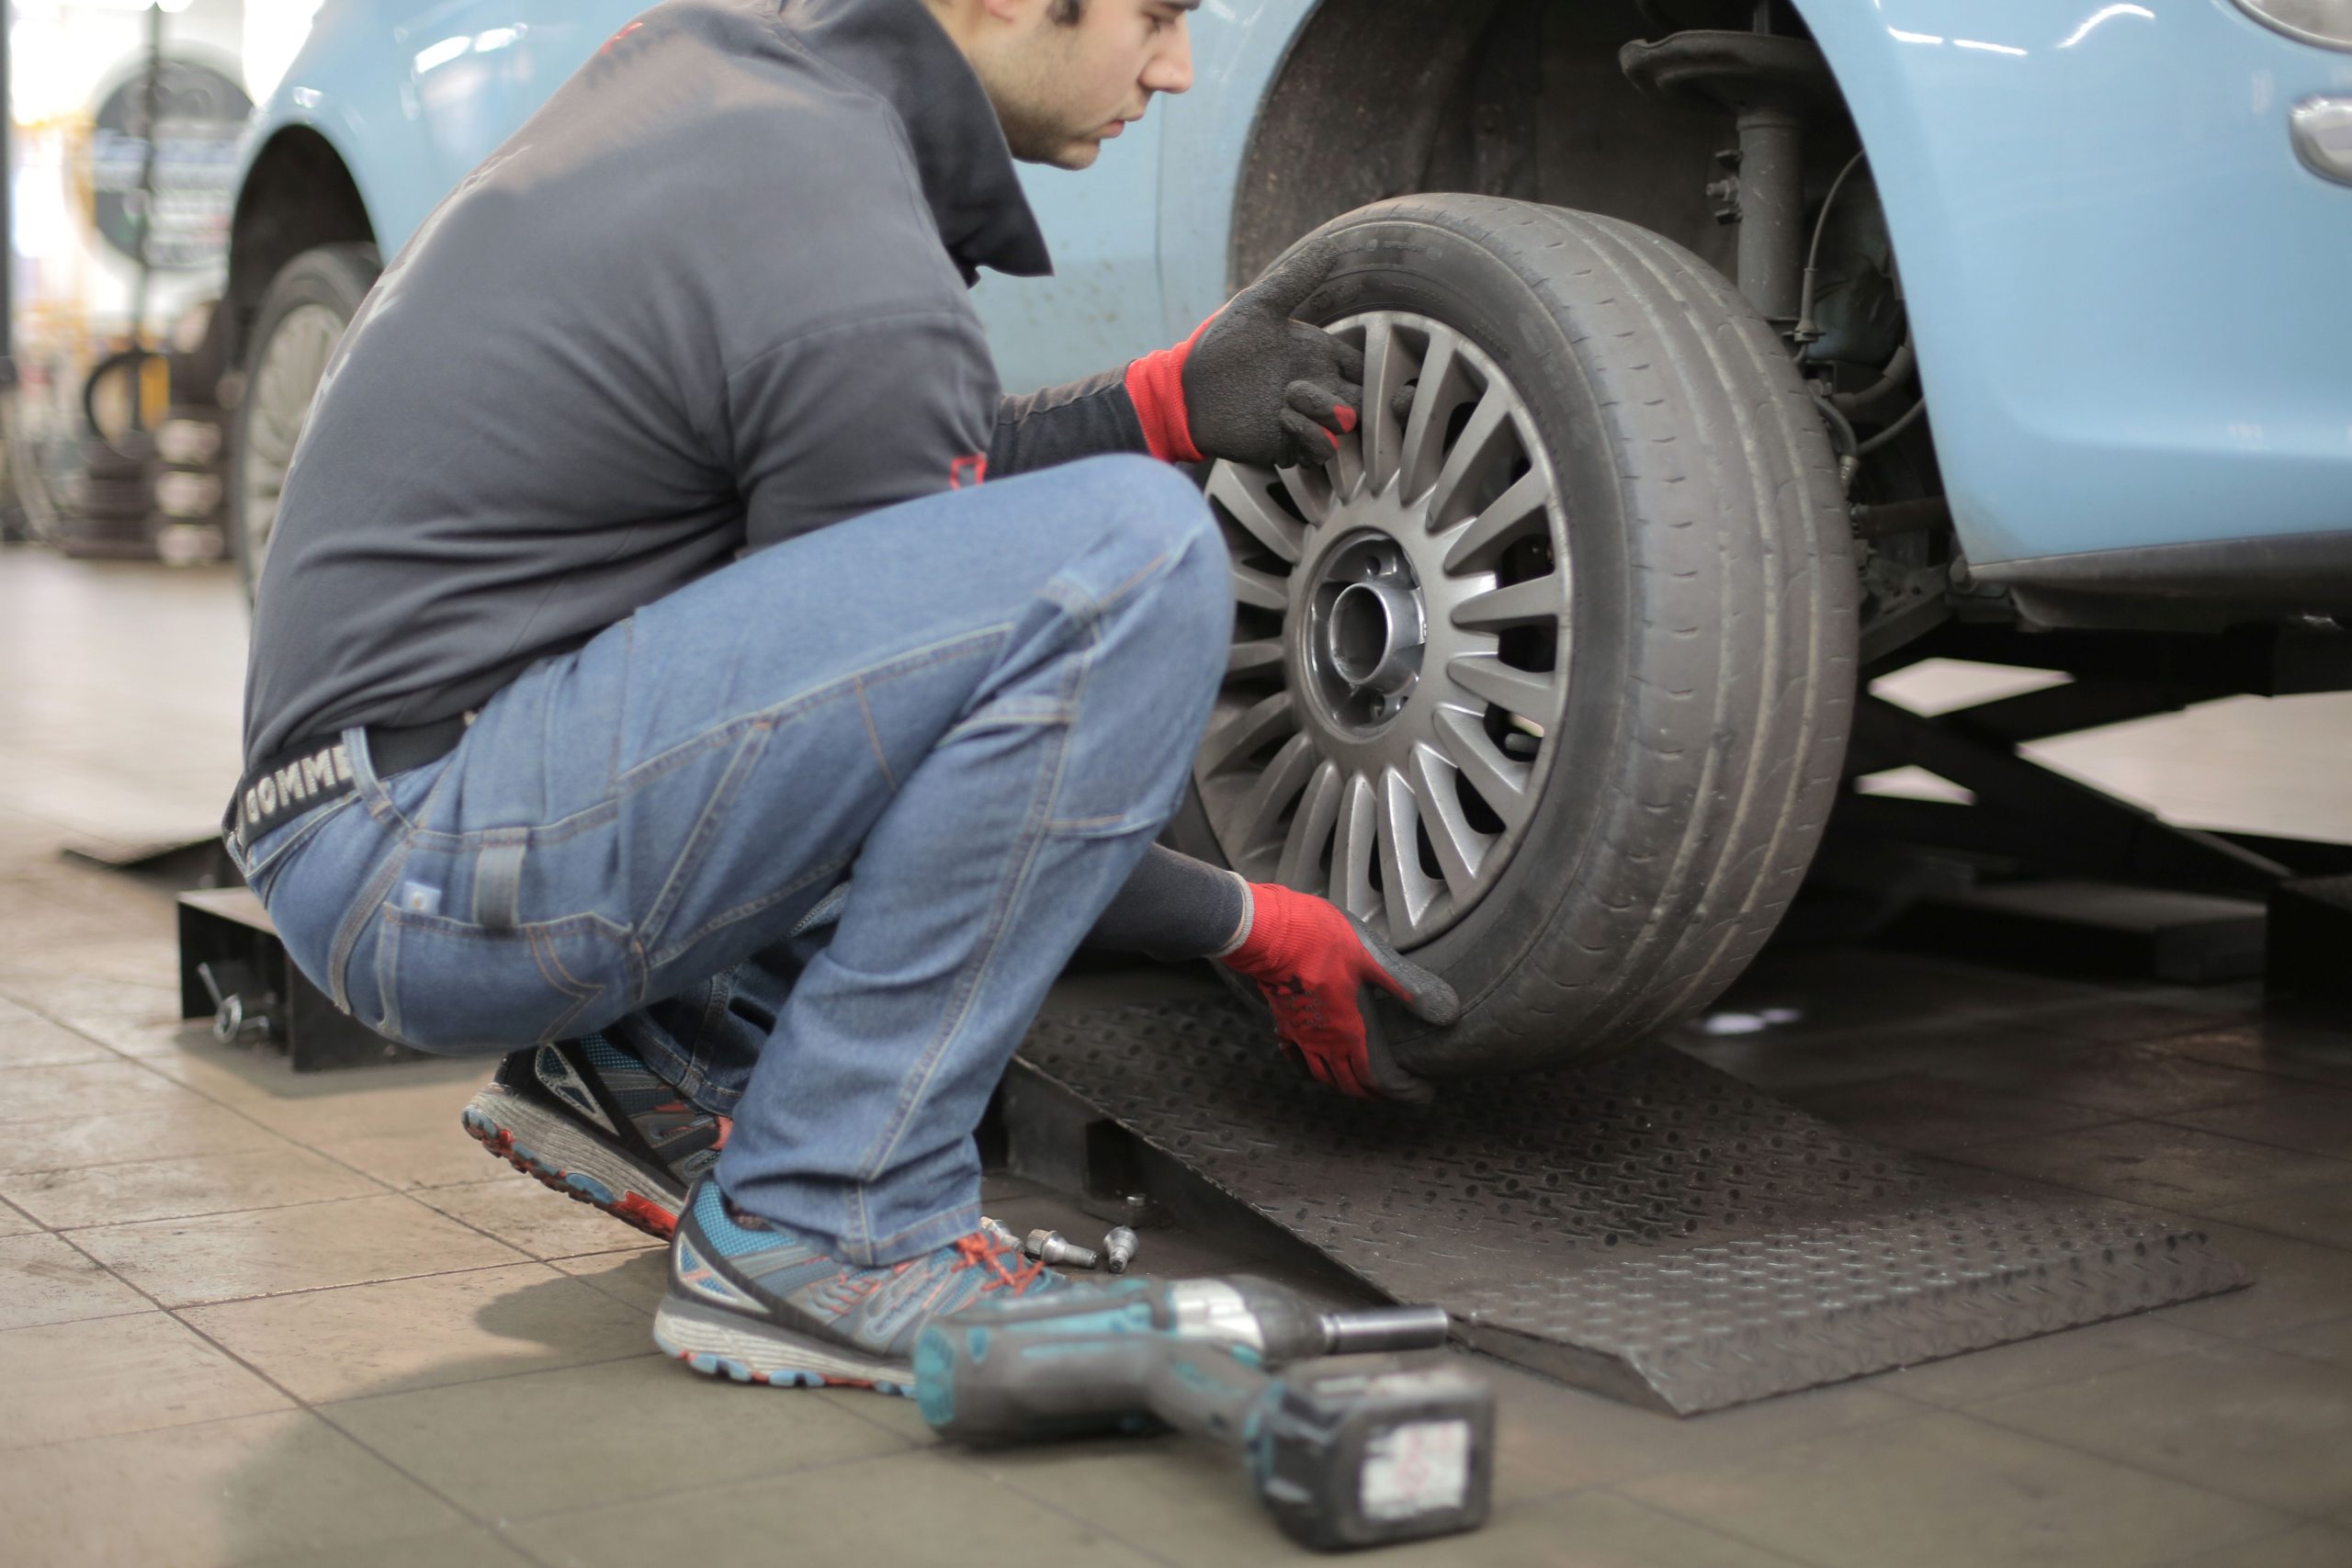
Switch off the engine, lights, and ignition first, and if the headlights have been on recently, wait a few minutes so the housing and bulb can cool before touching them (Motorist Care). Most headlight bulbs are accessed from the engine bay at the rear of the headlamp assembly behind the affected headlight — on some vehicles, space is tight enough that you may need to remove a cover, air duct, or battery bracket to reach the bulb comfortably.
Removing and Installing the Bulb
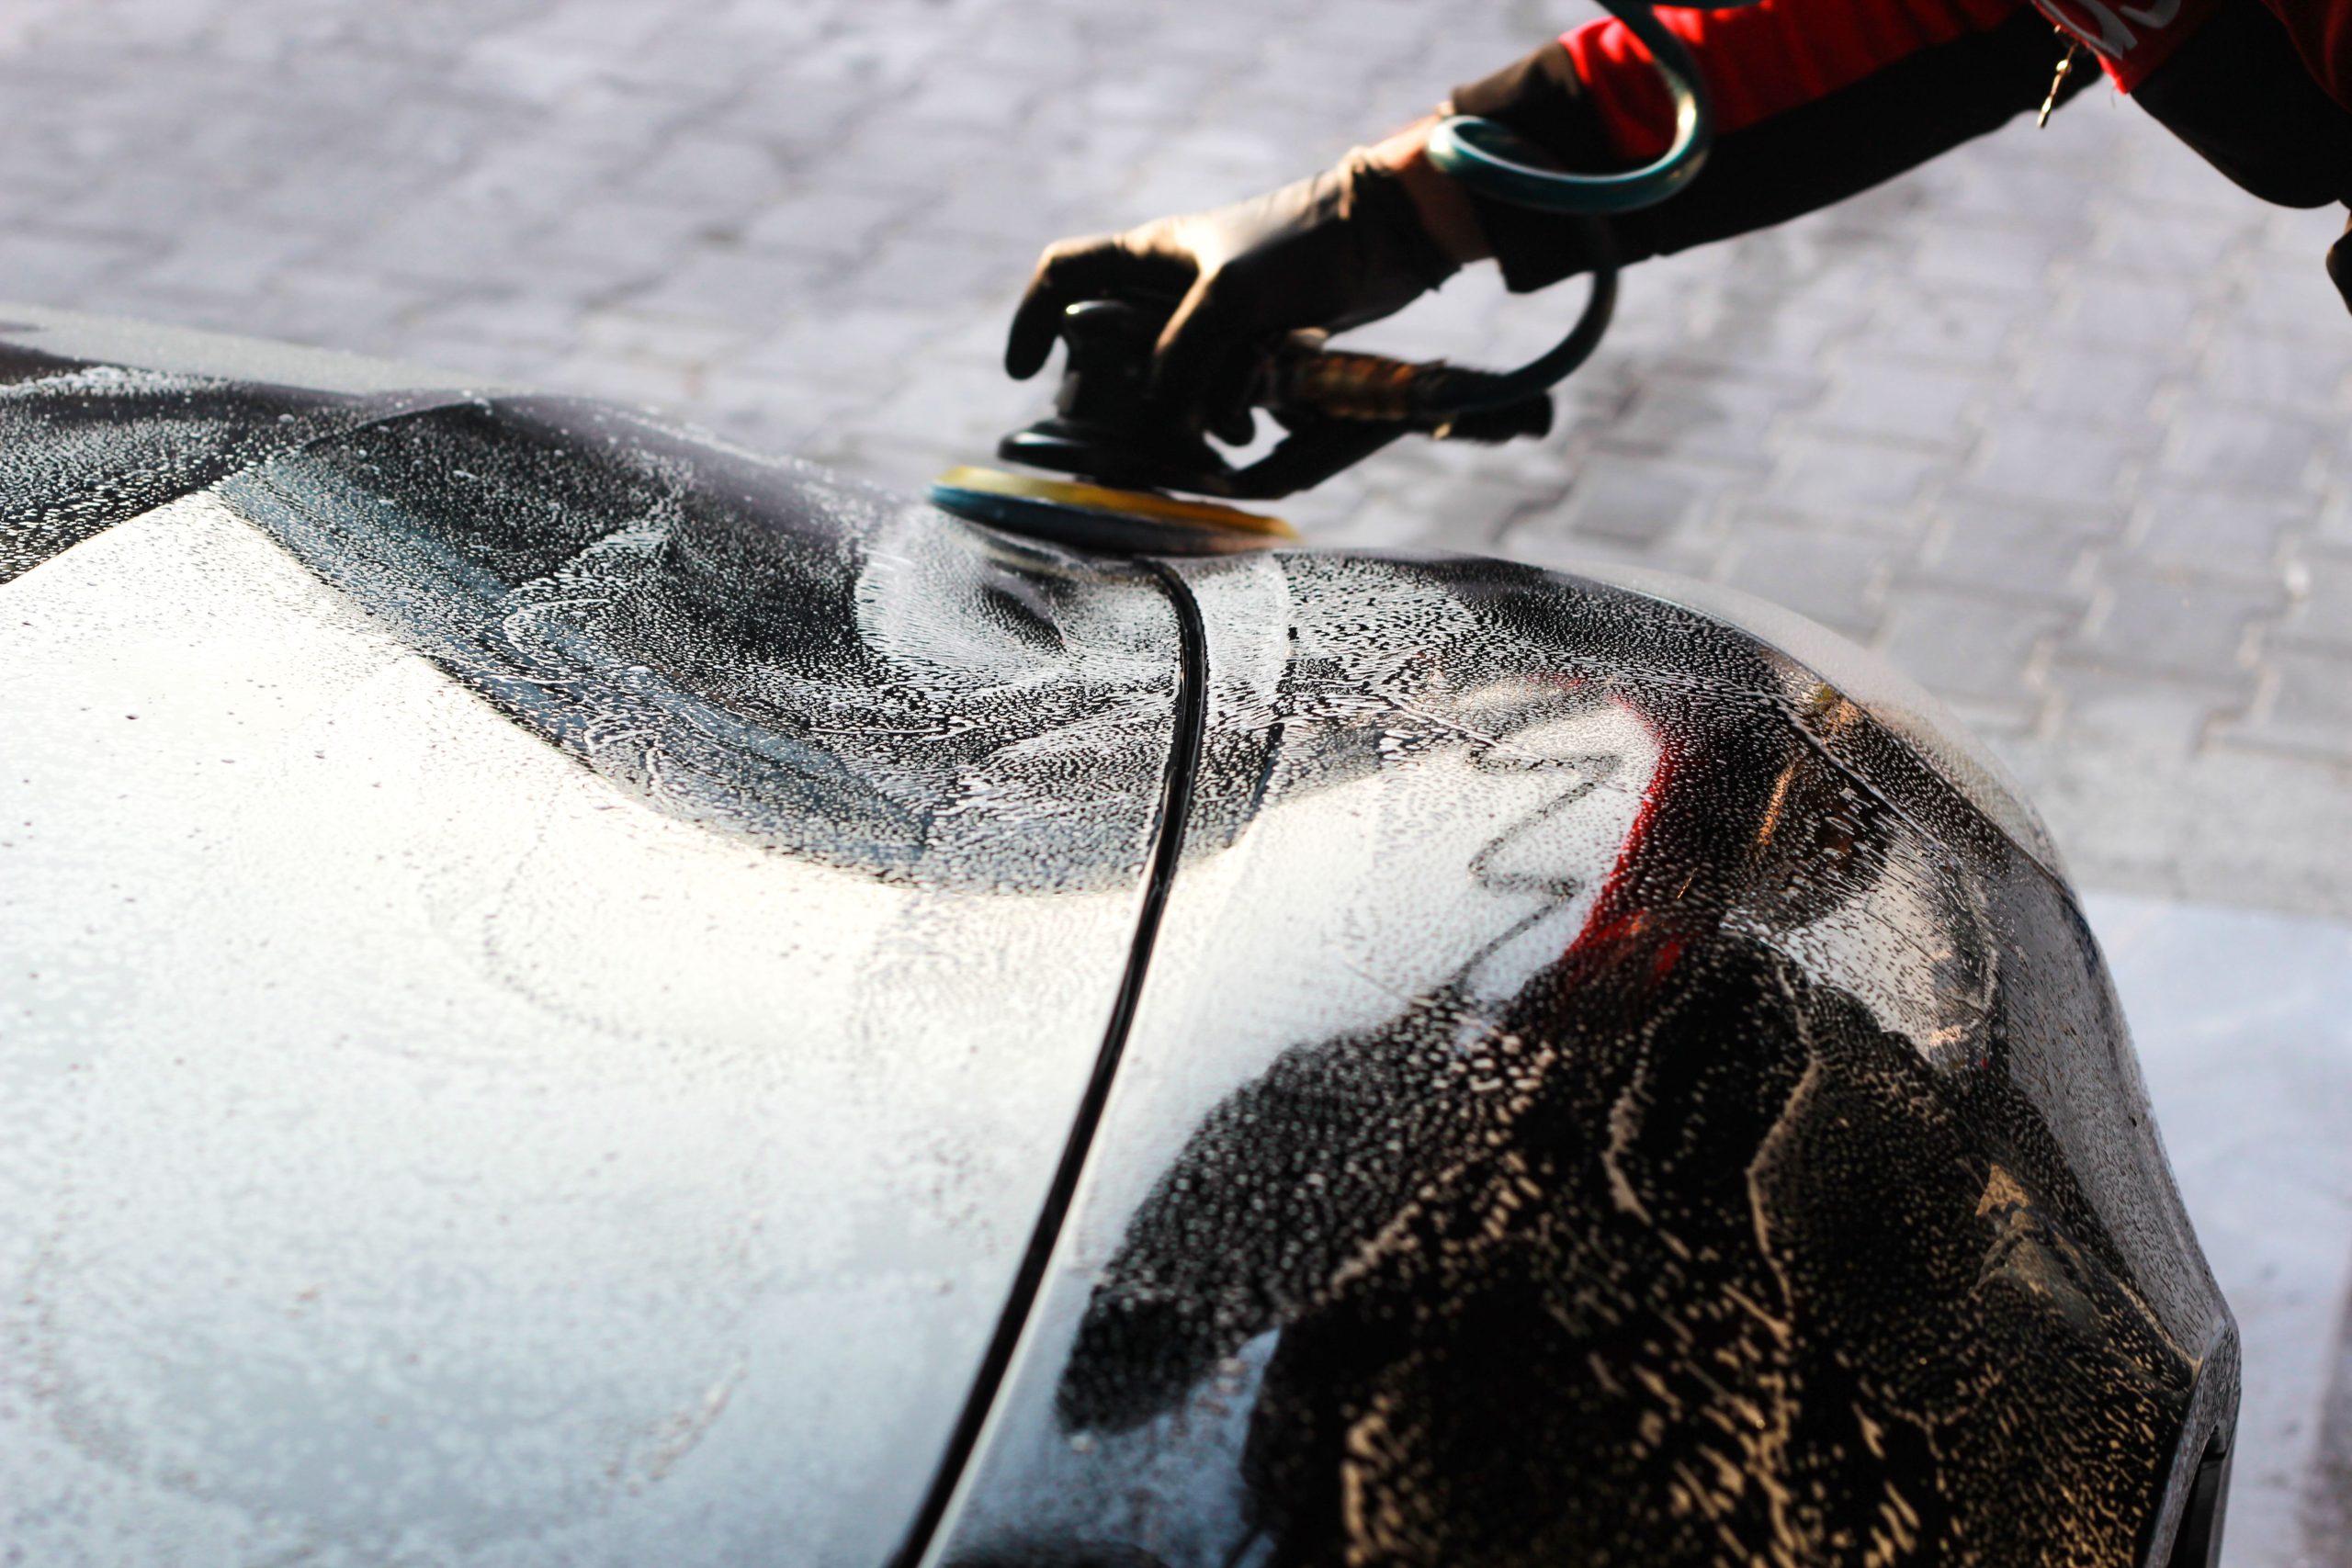
Depending on your specific headlight assembly type, you’ll either twist the bulb socket counterclockwise or release a retaining clip to remove the old bulb, then carefully pull it out of its socket (Hawkglow). Wearing gloves, insert the new bulb into the empty socket and rotate it clockwise — or re-clip it — until it’s secure; most bulbs need just a quarter-turn clockwise to lock fully into place.
Handling bulbs with gloves matters more than it might seem — skin oils transferred to the glass can create a hot spot on the bulb during use, potentially causing premature failure well before the bulb’s expected lifespan. This is a common, easily avoidable mistake for a first-time DIY headlight replacement.
Final Testing
Turn on the headlights to verify the new bulb works, and cycle through high beams and any other headlight settings to confirm every bulb is functioning as expected (TechOne Auto). This step catches two common issues at once: a bulb that isn’t seated correctly (which often shows as dim or flickering light) and any adjacent bulb that might have been accidentally loosened during the process.
If the beam looks correctly lit but seems poorly aimed once you’re back on the road, our guide on adjusting headlights yourself covers the separate process for correcting aim, which is a different issue from bulb function. And if you’re dealing with a hazy, discolored headlight lens rather than a burnt-out bulb, that’s a separate restoration process not covered by a simple bulb swap.
How Long Does the Whole Process Really Take?
No matter which type of headlight assembly your vehicle has, changing a bulb yourself in the driveway typically takes 5-10 minutes per side (SimplyFleet). Vehicles with tighter engine bay access or additional components blocking the headlight housing can push toward the higher end of that range, but for most cars this remains a genuinely quick, tool-light task.
Frequently Asked Questions
Do I need to replace both headlight bulbs at the same time?
Not strictly necessary, but many mechanics recommend it since both bulbs are typically installed at the same time originally and tend to wear out around the same mileage — replacing just one often means doing this same job again soon after for the other side.
Can I use any replacement bulb, or does it need to match exactly?
Match the exact bulb type and wattage specified in your owner’s manual — using an incompatible bulb can affect beam pattern, potentially create a safety hazard for oncoming traffic, and in some cases isn’t even physically compatible with the housing.
What if the bulb won’t come loose from the socket?
Avoid forcing it, since excessive force can damage the socket or wiring connector — a gentle wiggling motion while pulling usually works, and if it remains stuck, checking your vehicle’s specific manual for any additional release mechanism is worth doing before applying more force.
Is it worth upgrading to LED bulbs during a routine replacement?
It can be, if your housing is compatible — LED bulbs generally offer brighter, whiter light and longer lifespan than standard halogen bulbs, though not every housing is designed for LED heat dissipation, so checking compatibility first avoids a wasted purchase.
The Bottom Line
Changing a headlight bulb is a genuinely quick DIY task — 5-10 minutes per side with no special tools, just care around handling the new bulb with gloves and letting a recently-used housing cool first. Test all headlight settings afterward to confirm the swap worked correctly, and if aim rather than function is the actual issue, that’s a separate adjustment process entirely.
Dealing with a headlight housing that’s cracked or damaged rather than just a burnt-out bulb? Contact San Diego Bumper and Collision for an assessment.



