

Clean your engine bay safely by first letting the engine cool completely and disconnecting the negative battery terminal, then covering sensitive components — the air intake, exposed electrical connectors, and battery terminals — with plastic sheeting before any water or cleaner touches the bay. Use a garden hose or low-pressure setting rather than a pressure washer, since high pressure can force water into places it doesn’t belong, then dry thoroughly with compressed air and towels, leaving the hood open afterward so trapped moisture can fully evaporate.
Here’s the full safety-first sequence, which components need covering before you start, and why drying matters as much as the cleaning itself.
Key Takeaways
- Only clean a fully cooled engine — cleaning a hot engine risks burns and can crack components from thermal shock.
- Disconnect the negative battery terminal first to prevent accidental electrical contact during the process.
- Cover the air intake and exposed electrical connectors before applying any water or cleaner.
- Use low pressure, never a pressure washer — high-pressure water can force moisture into the intake or fuel system.
What to Protect Before You Start
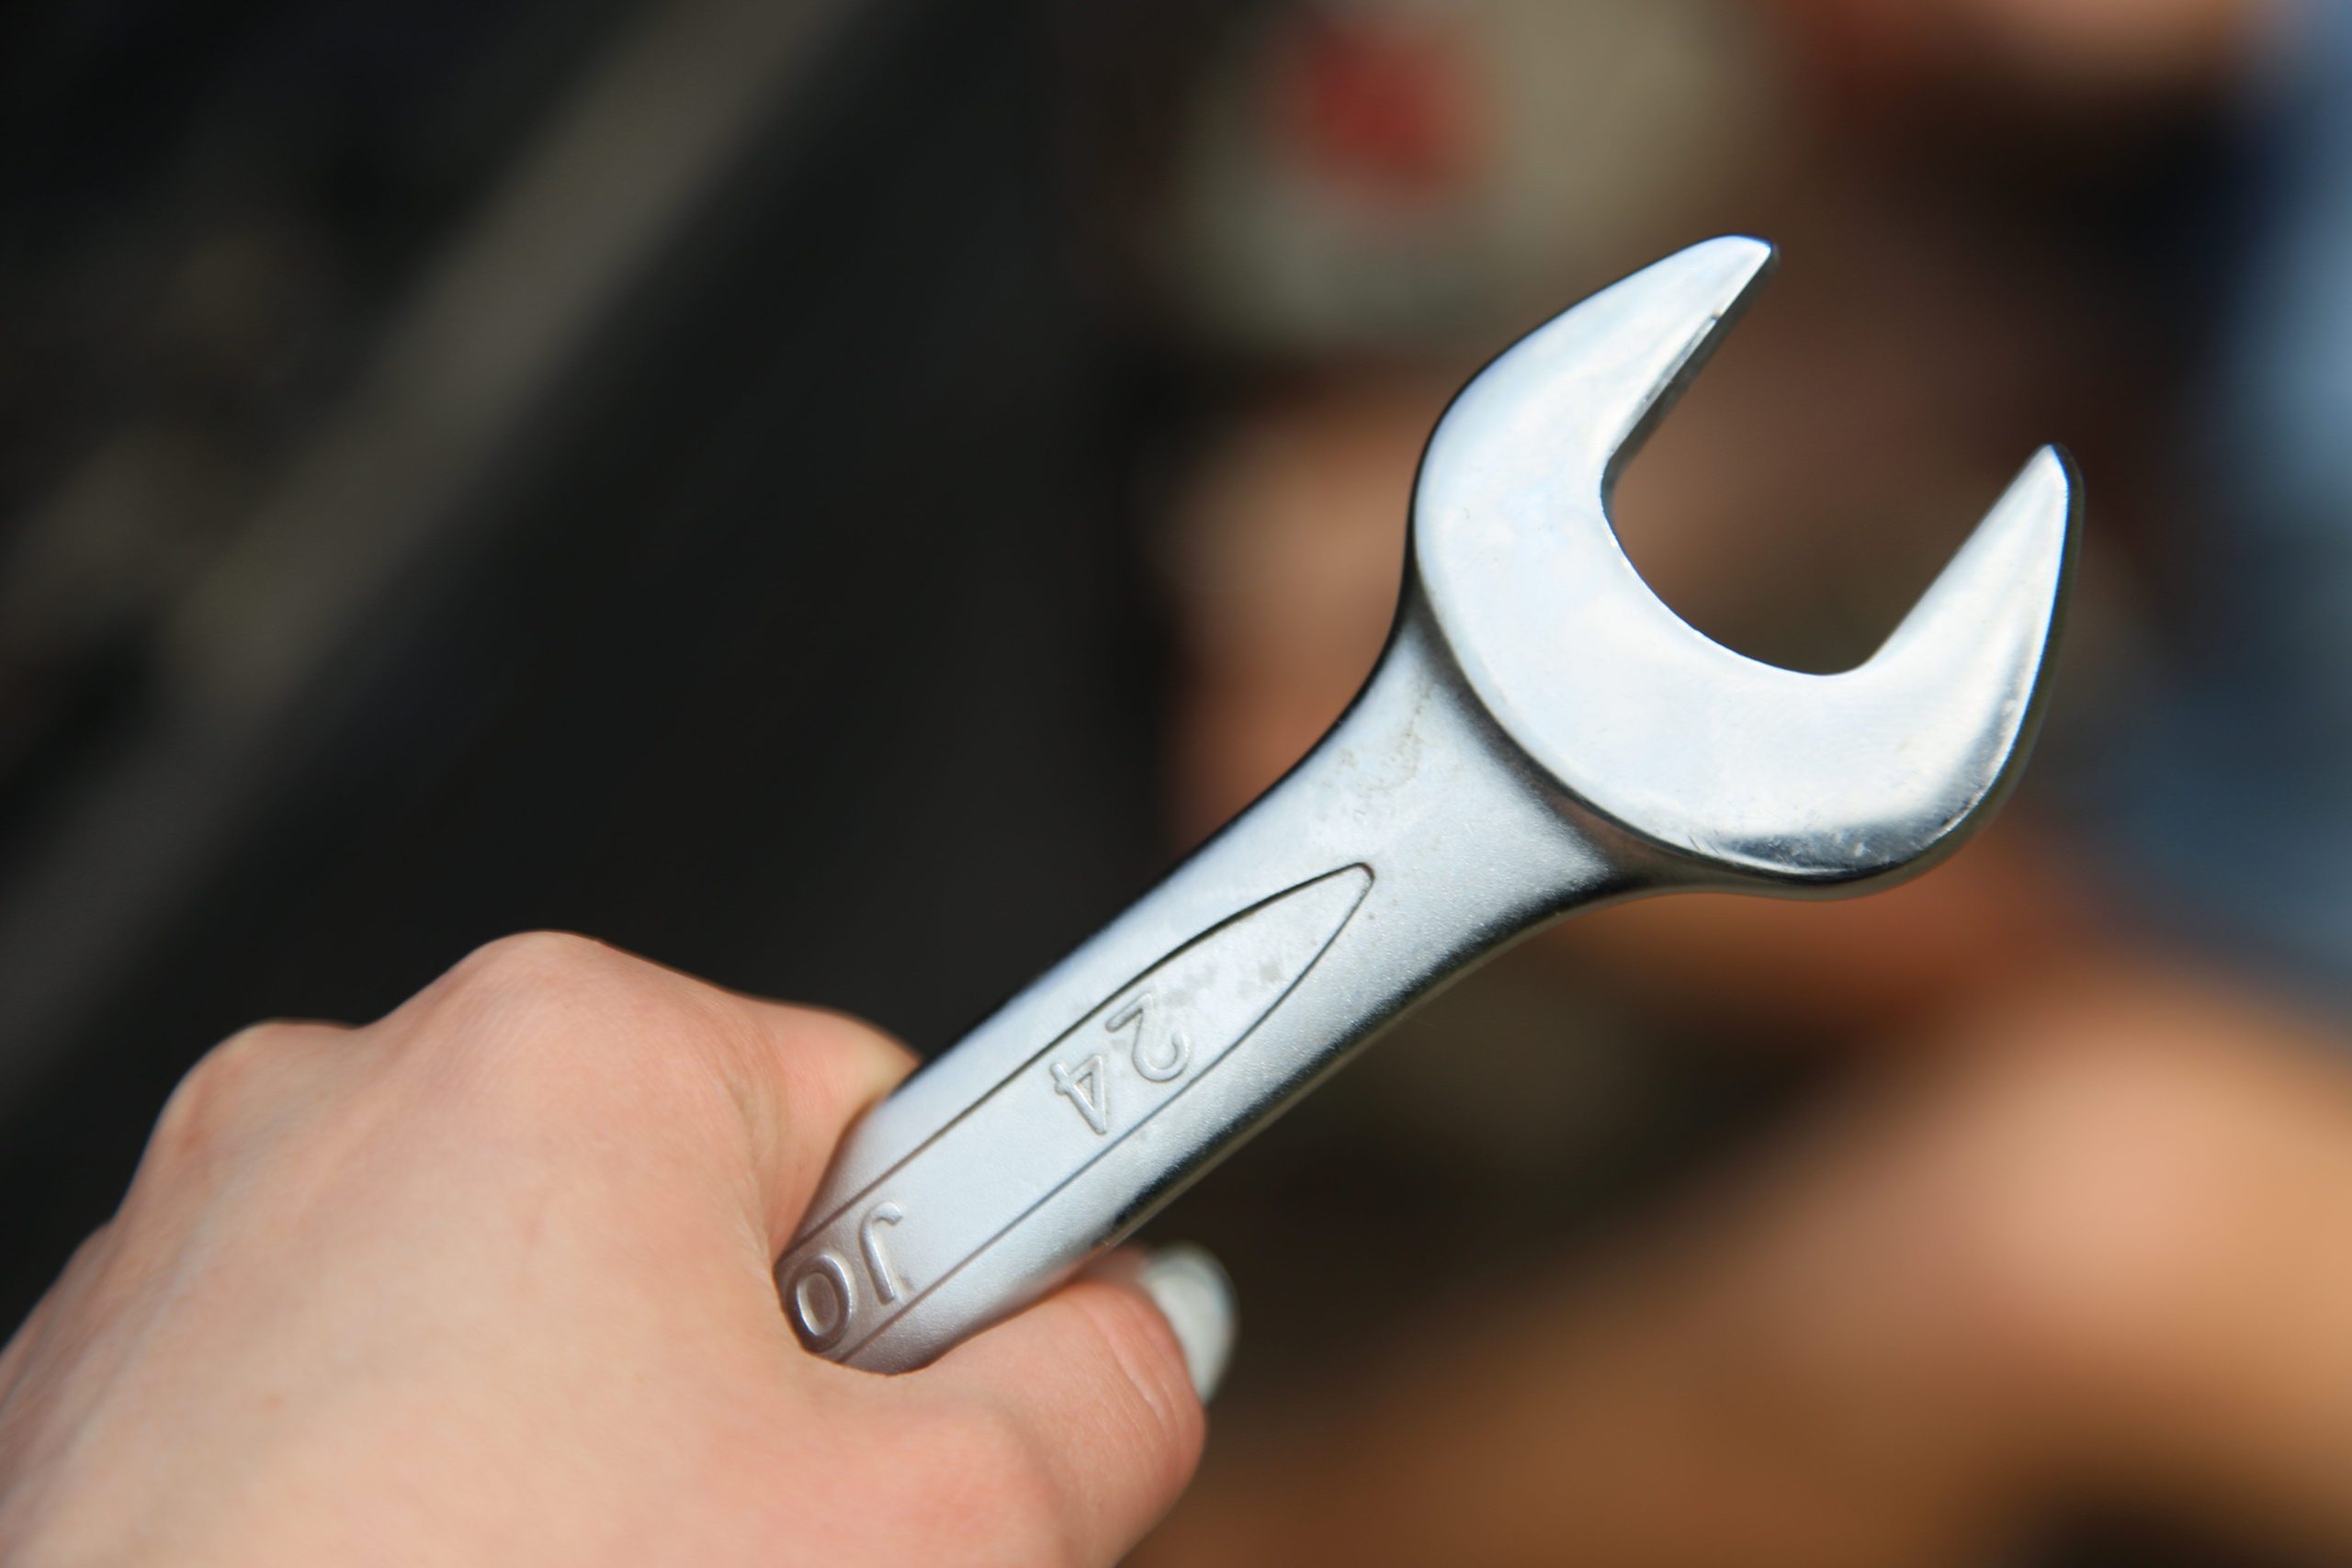
Never clean a hot engine — let it cool down completely first to avoid burns and to prevent thermal shock from damaging components, then disconnect the negative terminal of the car battery to prevent accidental electrical contact during the process (GSF Car Parts). Wear gloves and safety glasses to protect against chemicals and debris throughout. Tighten up all caps and covers so chemicals or water can’t get into the oil dipstick or fluid reservoirs, then use compressed air or a soft brush to remove dust, leaves, and debris from the surface and tight nooks and crannies before any liquid touches the bay.
Covering Sensitive Components

Plastic bags, cling film, or plastic sheeting secured lightly with tape shield against overspray and light rinse water — focus this covering on openings and exposed components, especially the air intake path (Right Car Detailing). If the battery is exposed, cover just the terminals rather than wrapping the whole battery so tightly that you risk trapping water beneath the cover, which can actually cause more corrosion risk than leaving it appropriately shielded but breathable.
Cleaning, Rinsing, and Drying
Use a garden hose or a low-pressure setting rather than a pressure washer — high pressure can blast water into places it doesn’t belong, like the air intake or fuel system components (AutoZone). After applying degreaser and agitating with a soft brush where needed, rinse thoroughly at low pressure, then blow out trapped moisture with compressed air, a leaf blower, or another safe airflow tool, and use microfiber cloths to dry accessible surfaces by hand. Leave the hood open for a while after towel drying — airflow does more of the drying work than most people expect, and a shop vacuum can collect any pooling water left in cavities and crevices.
Once your engine bay is clean, our guide on polishing metal on your car covers a related process for chrome and aluminum trim components that are often visible within the bay itself and benefit from the same careful, protectant-aware approach.
Frequently Asked Questions
How often should an engine bay be cleaned?
A few times a year for most daily drivers is generally sufficient, though vehicles regularly exposed to dirt, oil leaks, or off-road conditions may benefit from more frequent attention to prevent buildup from becoming harder to remove.
Can I use a degreaser on all engine bay surfaces?
Not universally — some degreasers can be harsh on certain plastics, rubber hoses, or painted surfaces, so checking the product label and spot-testing an inconspicuous area first is safer than assuming uniform compatibility.
Is it safe to start the engine right after cleaning?
It’s better to wait until everything is thoroughly dried and the hood has been left open for a period first, since starting a still-damp engine risks moisture reaching electrical connections before they’ve fully dried.
Do I need to reconnect the battery in a specific order?
Yes — reconnect the positive terminal first, then the negative, which is the reverse of the disconnection order and the standard practice for minimizing the risk of electrical short or spark during reconnection.
The Bottom Line
Cleaning an engine bay safely comes down to a cooled engine, a disconnected negative battery terminal, careful covering of intake and electrical components, low-pressure rinsing, and thorough drying before anything gets reconnected or started. Skipping the protective steps is what turns a routine cleaning into a real risk of electrical or mechanical damage.
Want your engine bay professionally detailed without the risk? Contact San Diego Bumper and Collision for a quote.



