
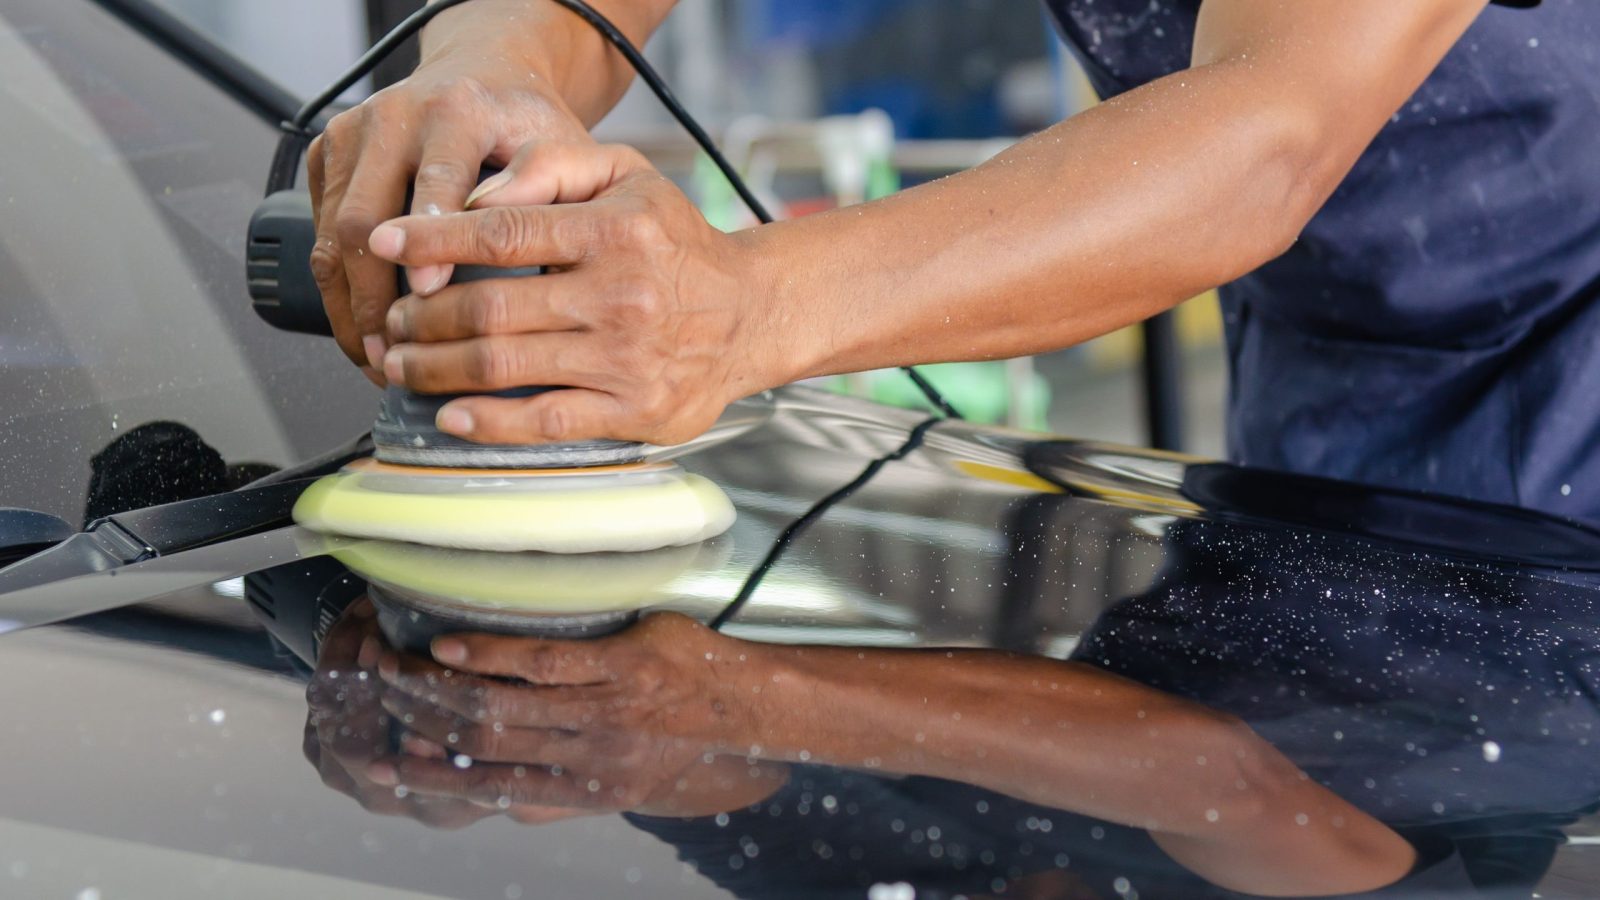
Get paint off a car by starting with the least aggressive method that works: a clay bar for light overspray or surface transfer, a rubbing compound for moderate paint transfer or scuff marks, and full paint correction only for severe cases — always working from gentlest to more aggressive rather than reaching for compound first. The goal at every step is removing the foreign paint while preserving as much of your own clear coat as possible.
Here’s the escalation process by severity, the safe technique for each method, and why finishing with wax or sealant isn’t optional.
Key Takeaways
- Start with the least aggressive method — clay bar first, only stepping up to compound or correction if needed.
- Overspray that bonds to clear coat can cause permanent damage requiring paint correction or a full repaint if left untreated too long.
- Use straight, back-and-forth motions with compound, not aggressive circles, which risk introducing new swirl marks.
- Always finish with wax or sealant — any abrasive treatment leaves the paint temporarily unprotected.
Understanding What You’re Dealing With
Overspray is airborne paint, lacquer, or industrial fallout that settles onto your car’s clear coat and hardens in place. Left untreated, it can permanently bond to the paint, escalating what could’ve been a simple fix into costly paint correction or even a full repaint (Fresh Layer).
Paint transfer, by contrast, usually comes from a minor contact incident — another vehicle’s paint or a stationary object scraping against your car’s surface. Both problems respond to similar removal techniques, but the right starting point depends on severity.
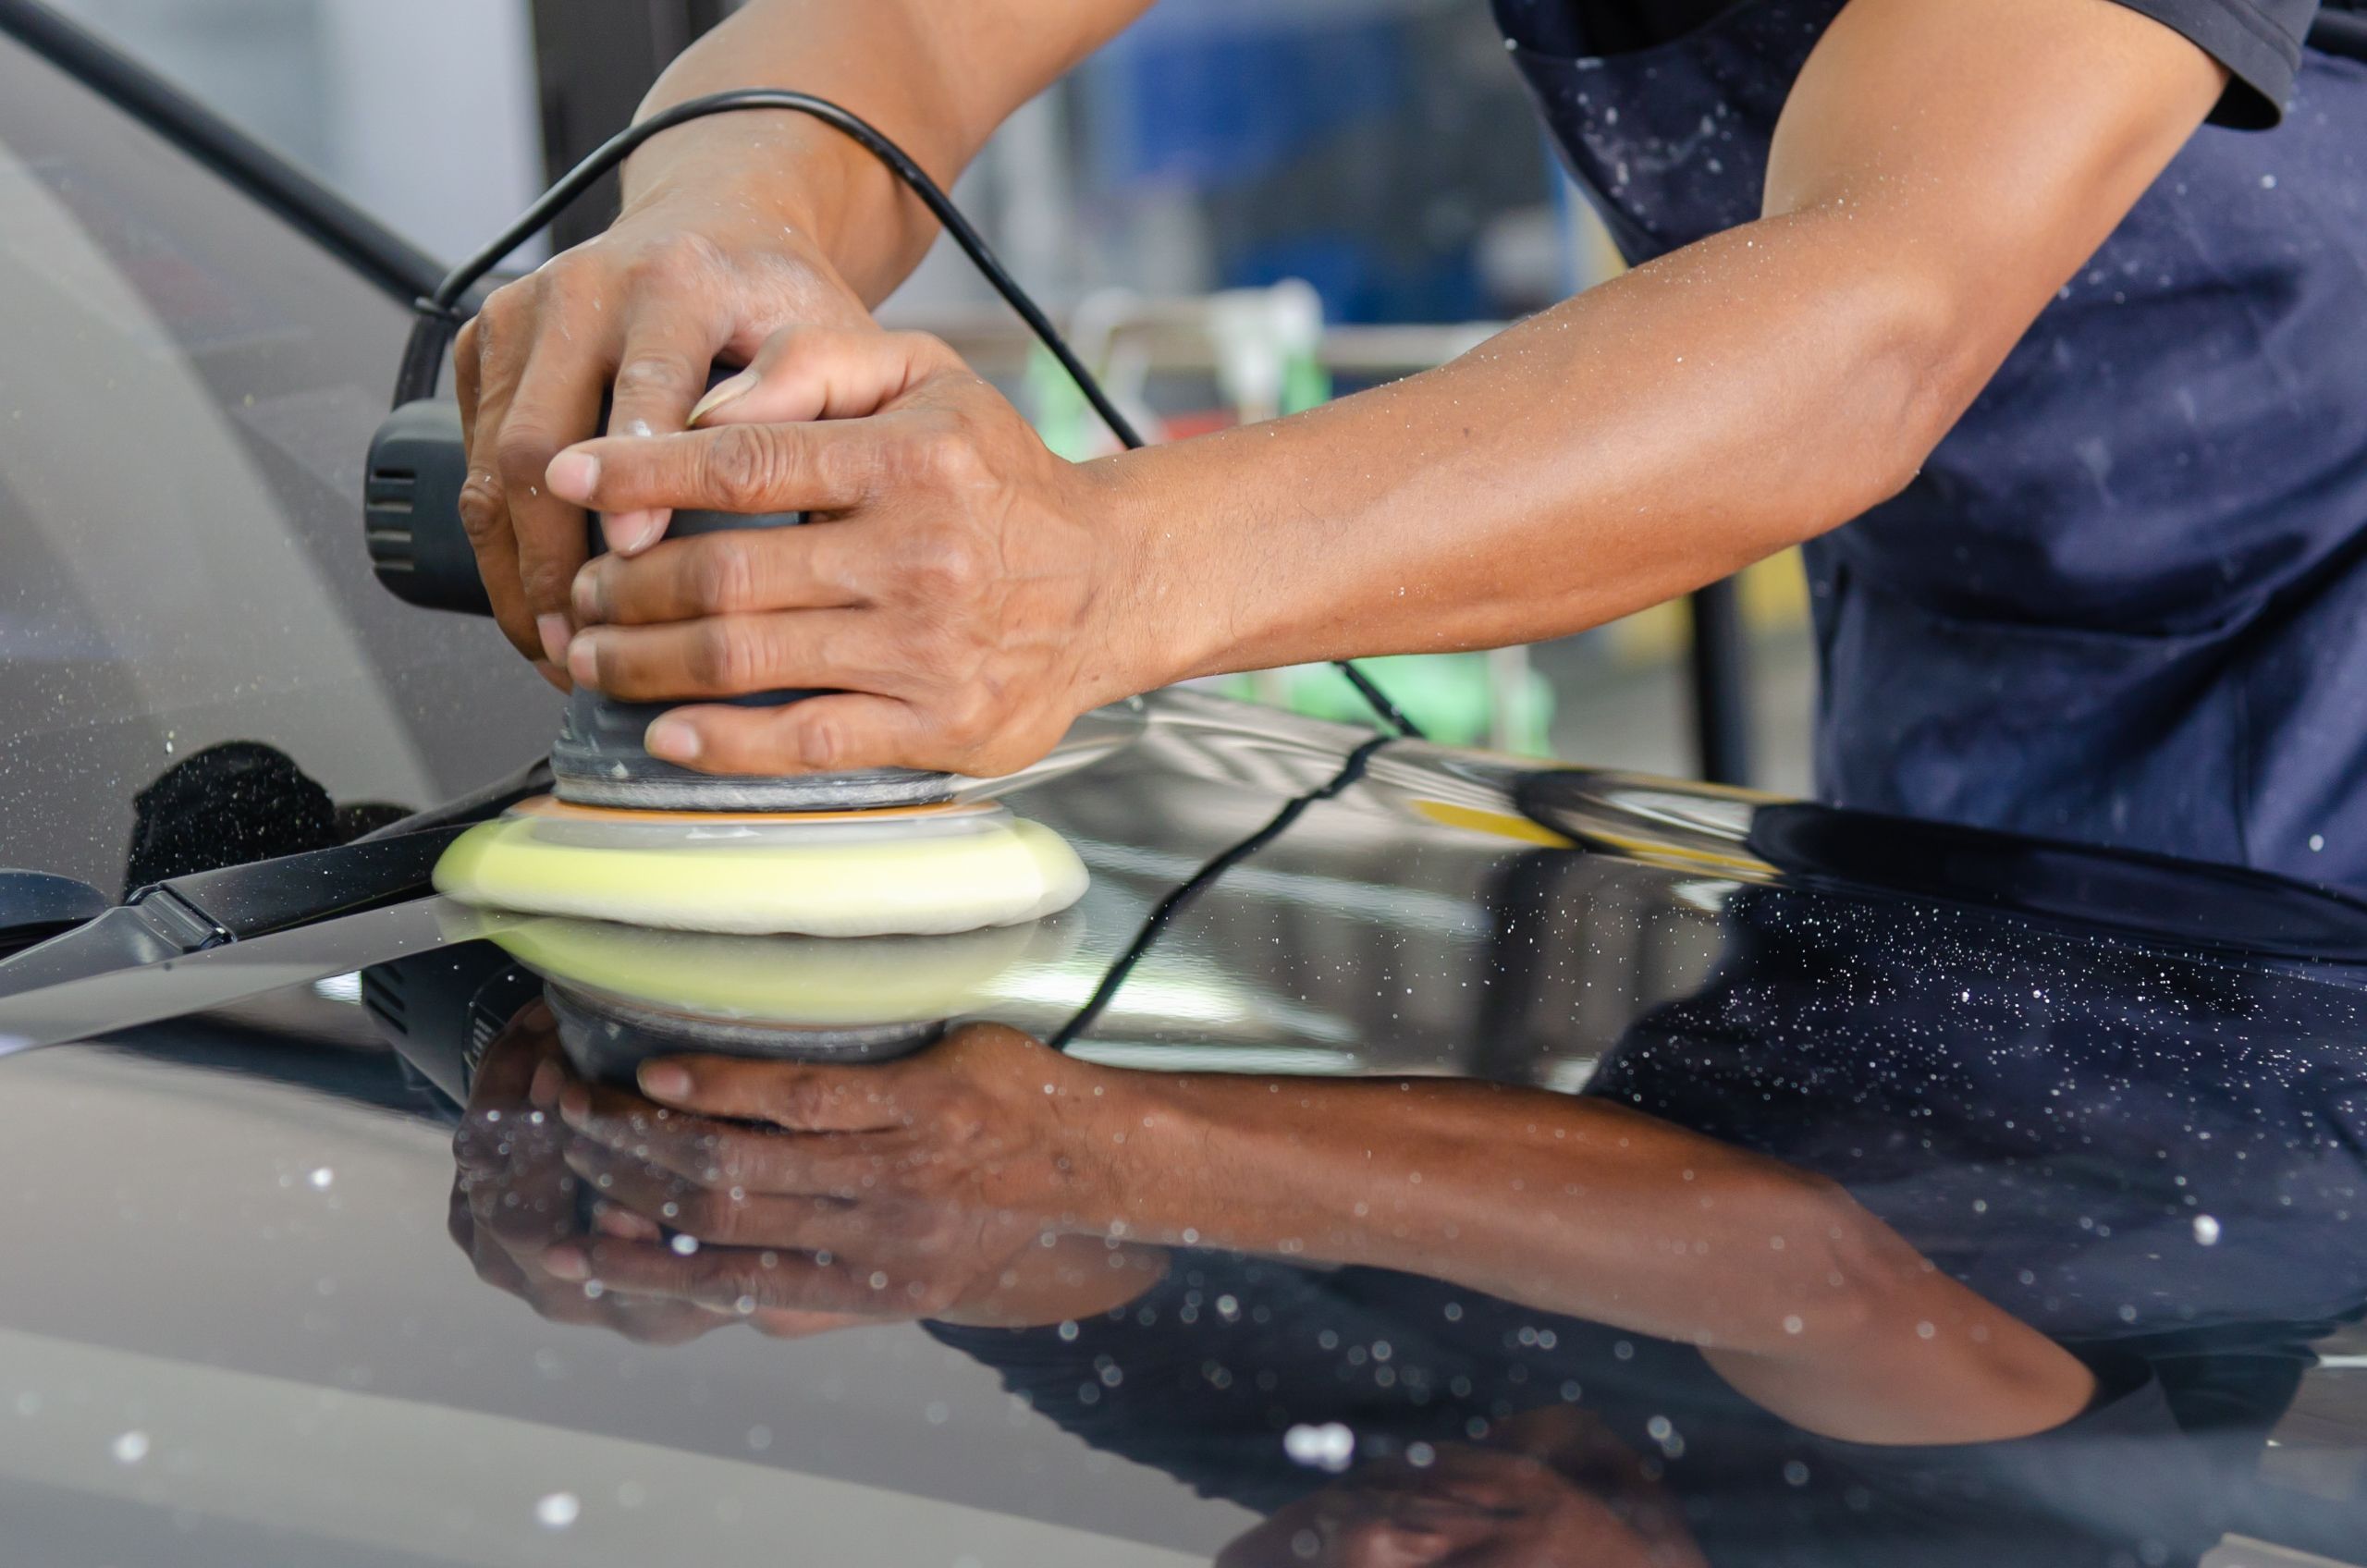
Method 1: Clay Bar (Light Overspray or Transfer)
- Wash the affected area with quality car wash soap and water, using a proper wash mitt rather than a sponge, then dry with a clean microfiber towel.
- Apply clay lubricant generously over a small section of the affected area — this reduces friction and the risk of introducing new scratches as the clay glides over the surface.
- Knead the clay bar into a flat disc, then glide it back and forth over the paint with light pressure, letting the clay’s texture lift contaminants rather than pressing hard.
- Fold the clay to a clean surface periodically as it picks up contaminants, and re-lubricate as needed throughout the process (Overspray.com).
Method 2: Rubbing Compound (Moderate Paint Transfer)
Rubbing compound works like liquid sandpaper — abrasive enough to remove light scratches or paint transfer without seriously damaging clear coat when used correctly. Ensure the surface is completely free of debris first, then apply a dime-sized amount of compound to a microfiber applicator pad.
Rub the compound over the scuff using a straight, back-and-forth motion rather than aggressive circular motions, which risk creating swirl marks instead of removing the original problem (Stoner Car Care). A small amount usually removes most of the mark — apply more only as needed, since excess compound becomes genuinely difficult to fully remove afterward.
Severity Levels and What Each Method Actually Addresses
| Method | Best For | What It Does |
|---|---|---|
| Clay bar | Light overspray, surface contaminants | Lifts particles off the surface without abrading the clear coat |
| Rubbing compound | Moderate paint transfer, light scuffs | Slightly levels the clear coat to remove embedded marks |
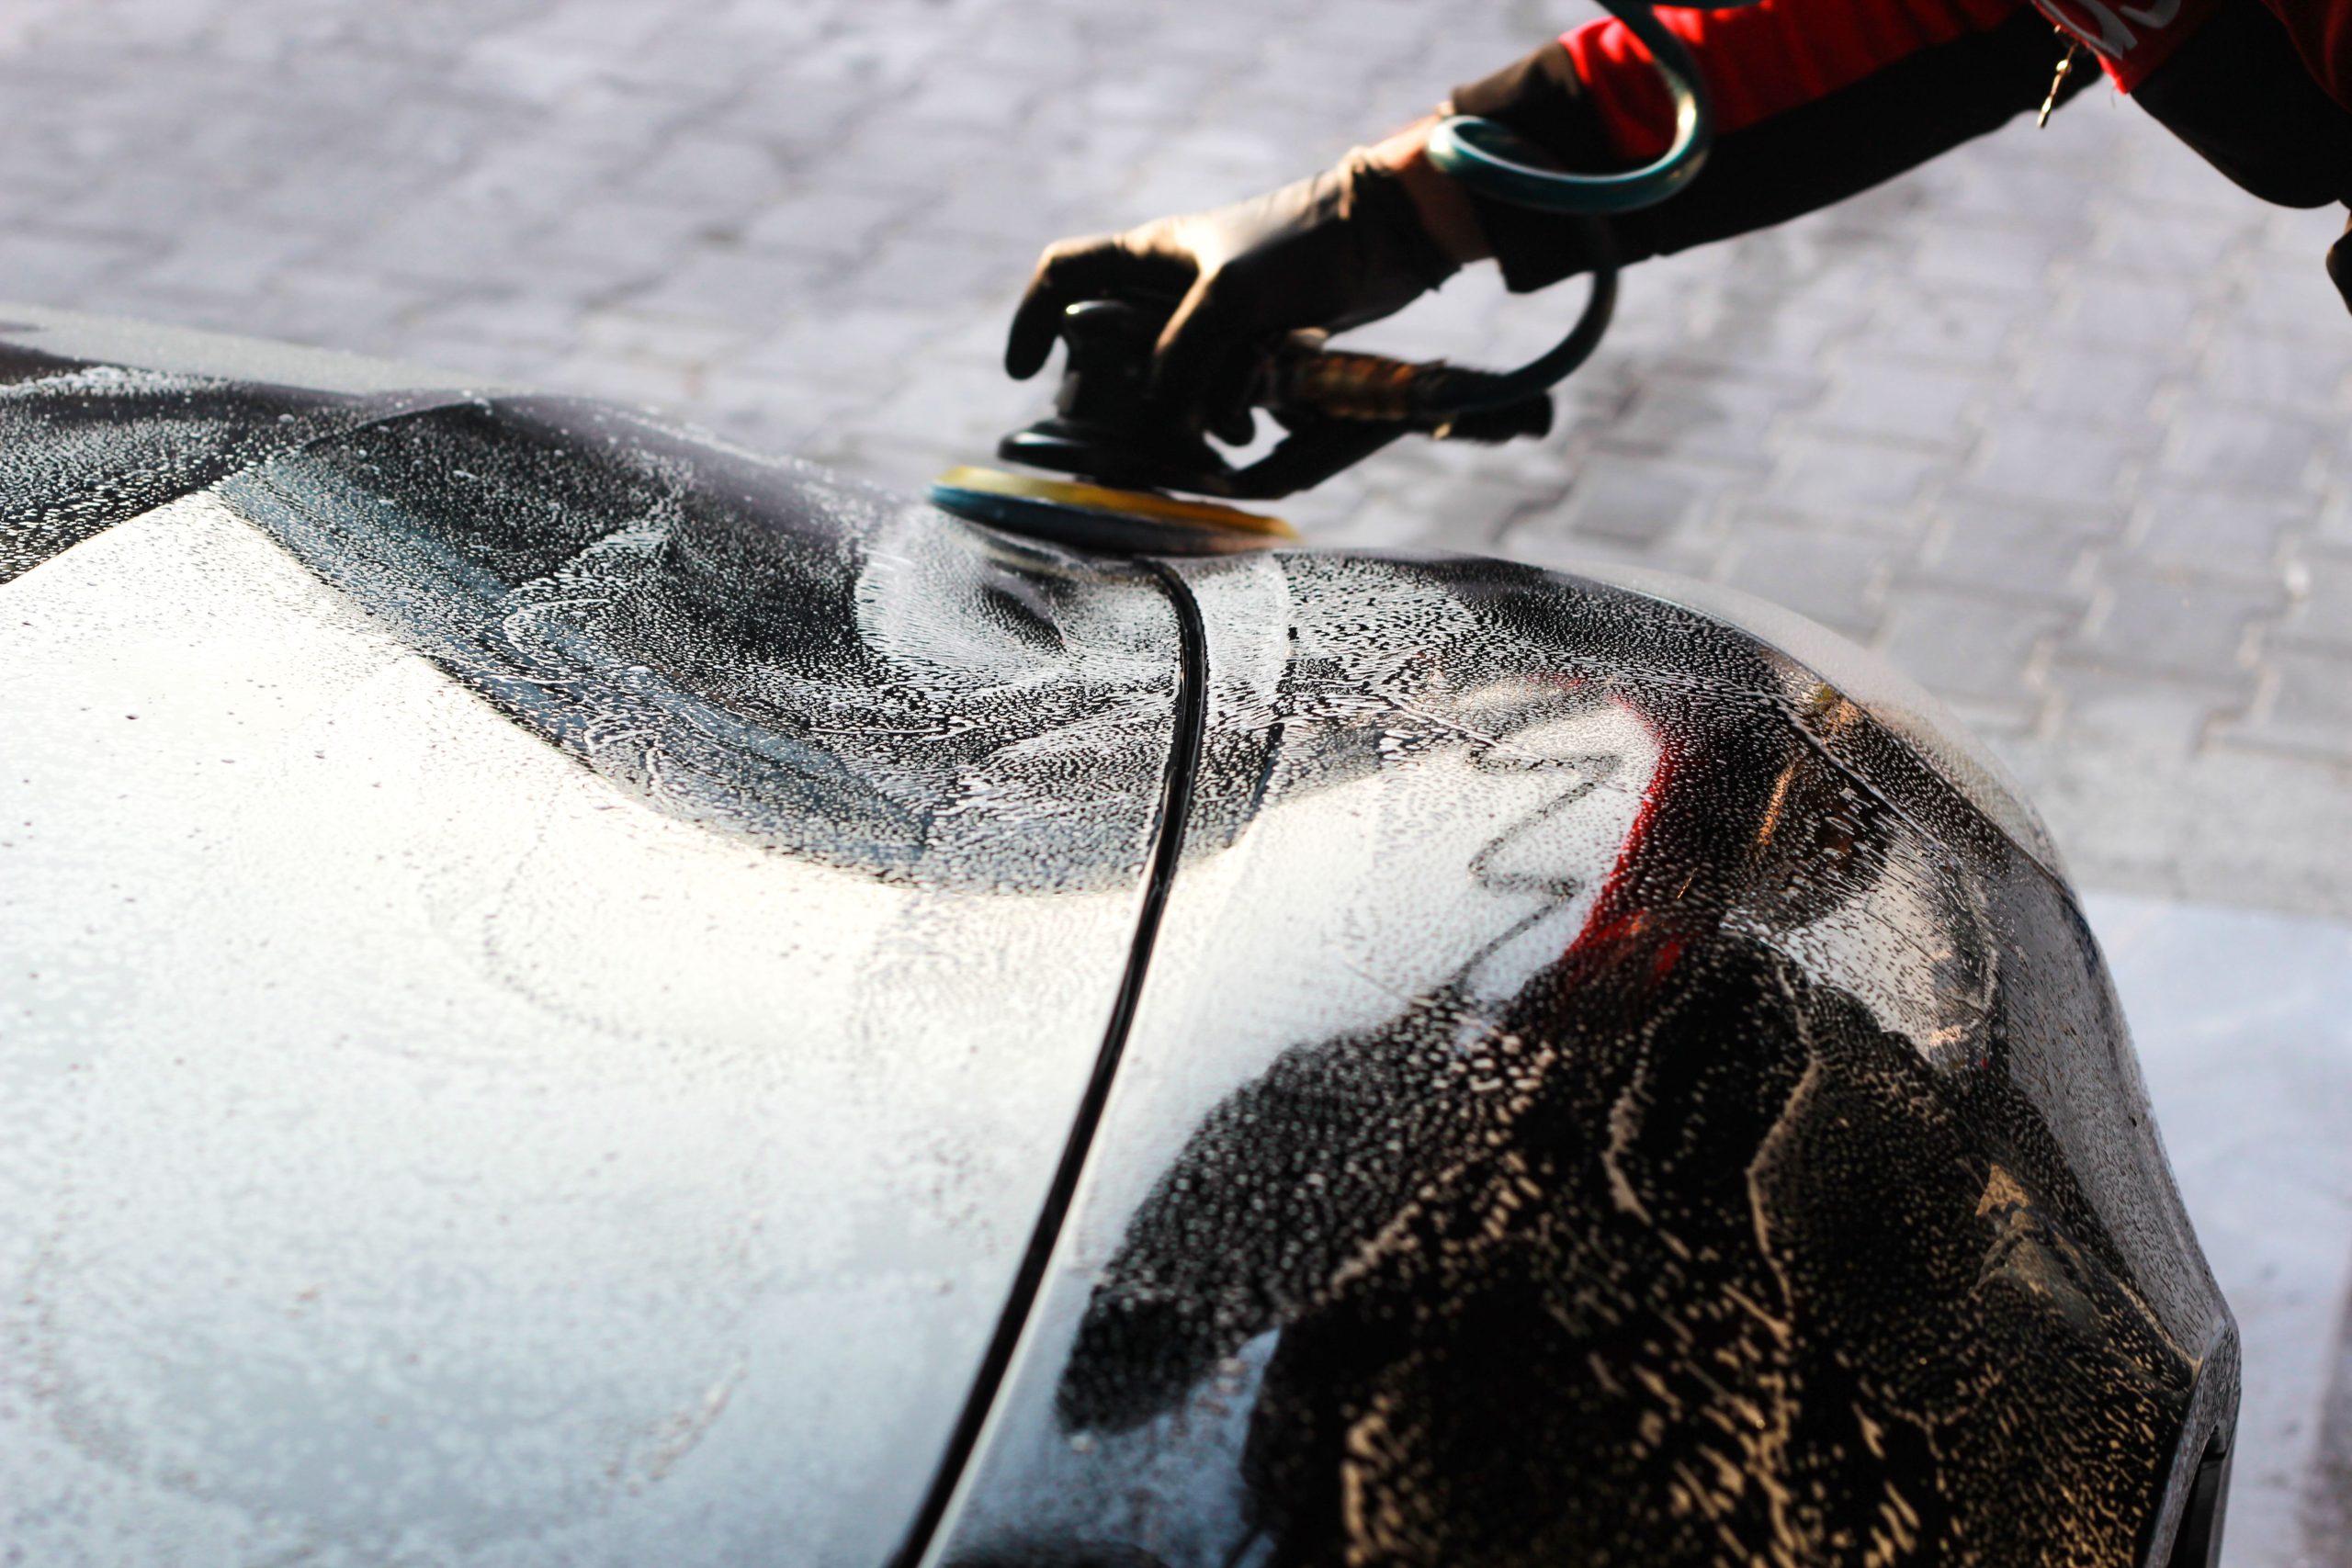
| Paint correction | Severe transfer, deep defects | Aggressive machine polishing to fully restore the surface |
If clay and compound don’t fully resolve the issue, that’s a sign the damage goes deeper than surface-level, and professional paint correction is the appropriate next step rather than continuing to escalate DIY compound use.
What About Scratches Instead of Transfer?
If what you’re actually dealing with is a genuine scratch rather than surface paint transfer, the diagnostic approach differs — see our guide on removing car scratches for the fingernail test that determines whether you’re looking at a clear coat scratch or something that’s gone deeper into the paint.
The Non-Negotiable Final Step: Protection
After any abrasive treatment — clay bar, compound, or correction — the paint is left temporarily more vulnerable than before, since you’ve just removed a layer of whatever protection was there. Applying a fresh layer of wax or paint sealant immediately after is essential, not optional, to shield the treated area from UV exposure and contamination while it’s most exposed.
Frequently Asked Questions
Does toothpaste actually remove paint transfer?
For very light, shallow marks, yes — toothpaste’s mild abrasiveness makes it a reasonable quick fix for surface-level scuffs, though it’s not a reliable method for anything beyond the lightest transfer.
Can I use a clay bar on fresh, wet paint from an incident?
No — let any transferred paint fully dry and cure before attempting removal. Working on wet transfer risks smearing it further into your clear coat rather than lifting it cleanly.
Is professional removal worth it for a small paint transfer mark?
For a genuinely small, light mark, DIY clay or compound treatment is usually sufficient and far cheaper. Professional treatment becomes worthwhile once the mark is large, deeply embedded, or your DIY attempt hasn’t fully resolved it.
Does insurance cover paint transfer removal?
Only if the transfer resulted from a covered incident, like another vehicle contacting yours in a parking lot — routine cosmetic marks from normal use typically aren’t covered under standard policies.
The Bottom Line
Removing paint from a car — whether overspray or transfer — works best as an escalation: clay bar first for light contamination, rubbing compound next for moderate transfer, and full paint correction only if those don’t resolve it. Use straight motions with compound to avoid new swirl marks, and always finish with wax or sealant to protect the newly treated surface.
Dealing with paint transfer or overspray that DIY methods haven’t fully fixed? Contact San Diego Bumper and Collision for professional paint correction.



