
Remove tar from a car by washing the vehicle first, then applying a dedicated tar remover, WD-40, or Goo Gone directly to the spots, letting it dwell for about 10 minutes, and wiping it away with a clean microfiber cloth using light pressure — never scraping. Always wash and wax the treated area afterward, since removal products strip away wax and leave paint temporarily unprotected.
Here’s the full step-by-step process, how the common products compare, and what to avoid so you don’t damage the clear coat in the process.
Key Takeaways
- Always wash the car first — dirt left on the surface acts as an abrasive and can scratch paint during tar removal.
- Dedicated tar removers, WD-40, and Goo Gone all work by dissolving the petroleum bond between tar and paint.
- Let the product dwell for about 10 minutes before wiping — don’t scrape or rub hard while the tar is still bonded.
- Wash and wax afterward — tar removers strip protective wax along with the tar itself.
Step 1: Wash the Car Before Treating Tar Spots
Always start with a freshly washed car — any dirt left on the surface acts as an abrasive when you wipe at tar spots, and that’s a common way owners accidentally introduce fresh scratches while trying to fix a cosmetic problem (Chemical Guys). Use a pH-neutral car shampoo for the wash, which loosens surface debris and also makes it easier to see exactly how much tar contamination you’re dealing with before you start.
Step 2: Choose Your Tar Removal Product
Several products work well for dissolving tar, and the right choice depends mostly on what you already have on hand versus what you’re willing to buy specifically for this job.
| Product | Dwell Time | Notes |
|---|---|---|
| Dedicated tar remover (CarPro TarX, Turtle Wax Bug & Tar) | ~5-10 min | Purpose-built to counteract the asphalt-paint bond; most reliable option |
| WD-40 | ~10 min | Common household solvent, also works on bugs and bird droppings |
| Goo Gone | ~5-10 min | General adhesive remover, effective on fresh to moderately aged tar |
| Peanut butter | 10+ min | In-a-pinch household option; oils help loosen tar bonds |
Dedicated tar removers from detailing suppliers contain formulas specifically designed to counteract the bond between asphalt and paint, dissolving small spots outright and softening larger ones enough to wipe away cleanly (J.D. Power). WD-40 is a widely available solvent alternative — spray it directly on the tar spots or onto a microfiber cloth, let it sit for about 10 minutes, then wipe with a dry cloth (CarParts.com). If you don’t have either on hand, Goo Gone works similarly, and in a genuine pinch, peanut butter’s oil content can loosen tar bonds enough to wipe away after sitting for 10+ minutes.
Step 3: Apply the Product and Let It Dwell
Spray your chosen product directly onto the affected areas, fully saturating each tar spot rather than just lightly misting it, and give it the full recommended dwell time so the solvent has a chance to actually break down the petroleum residue before you touch it. Rushing this step and wiping too soon is the most common reason tar removal doesn’t fully work on the first try — the tar simply hasn’t had time to soften.
Step 4: Wipe Away Gently — Never Scrape
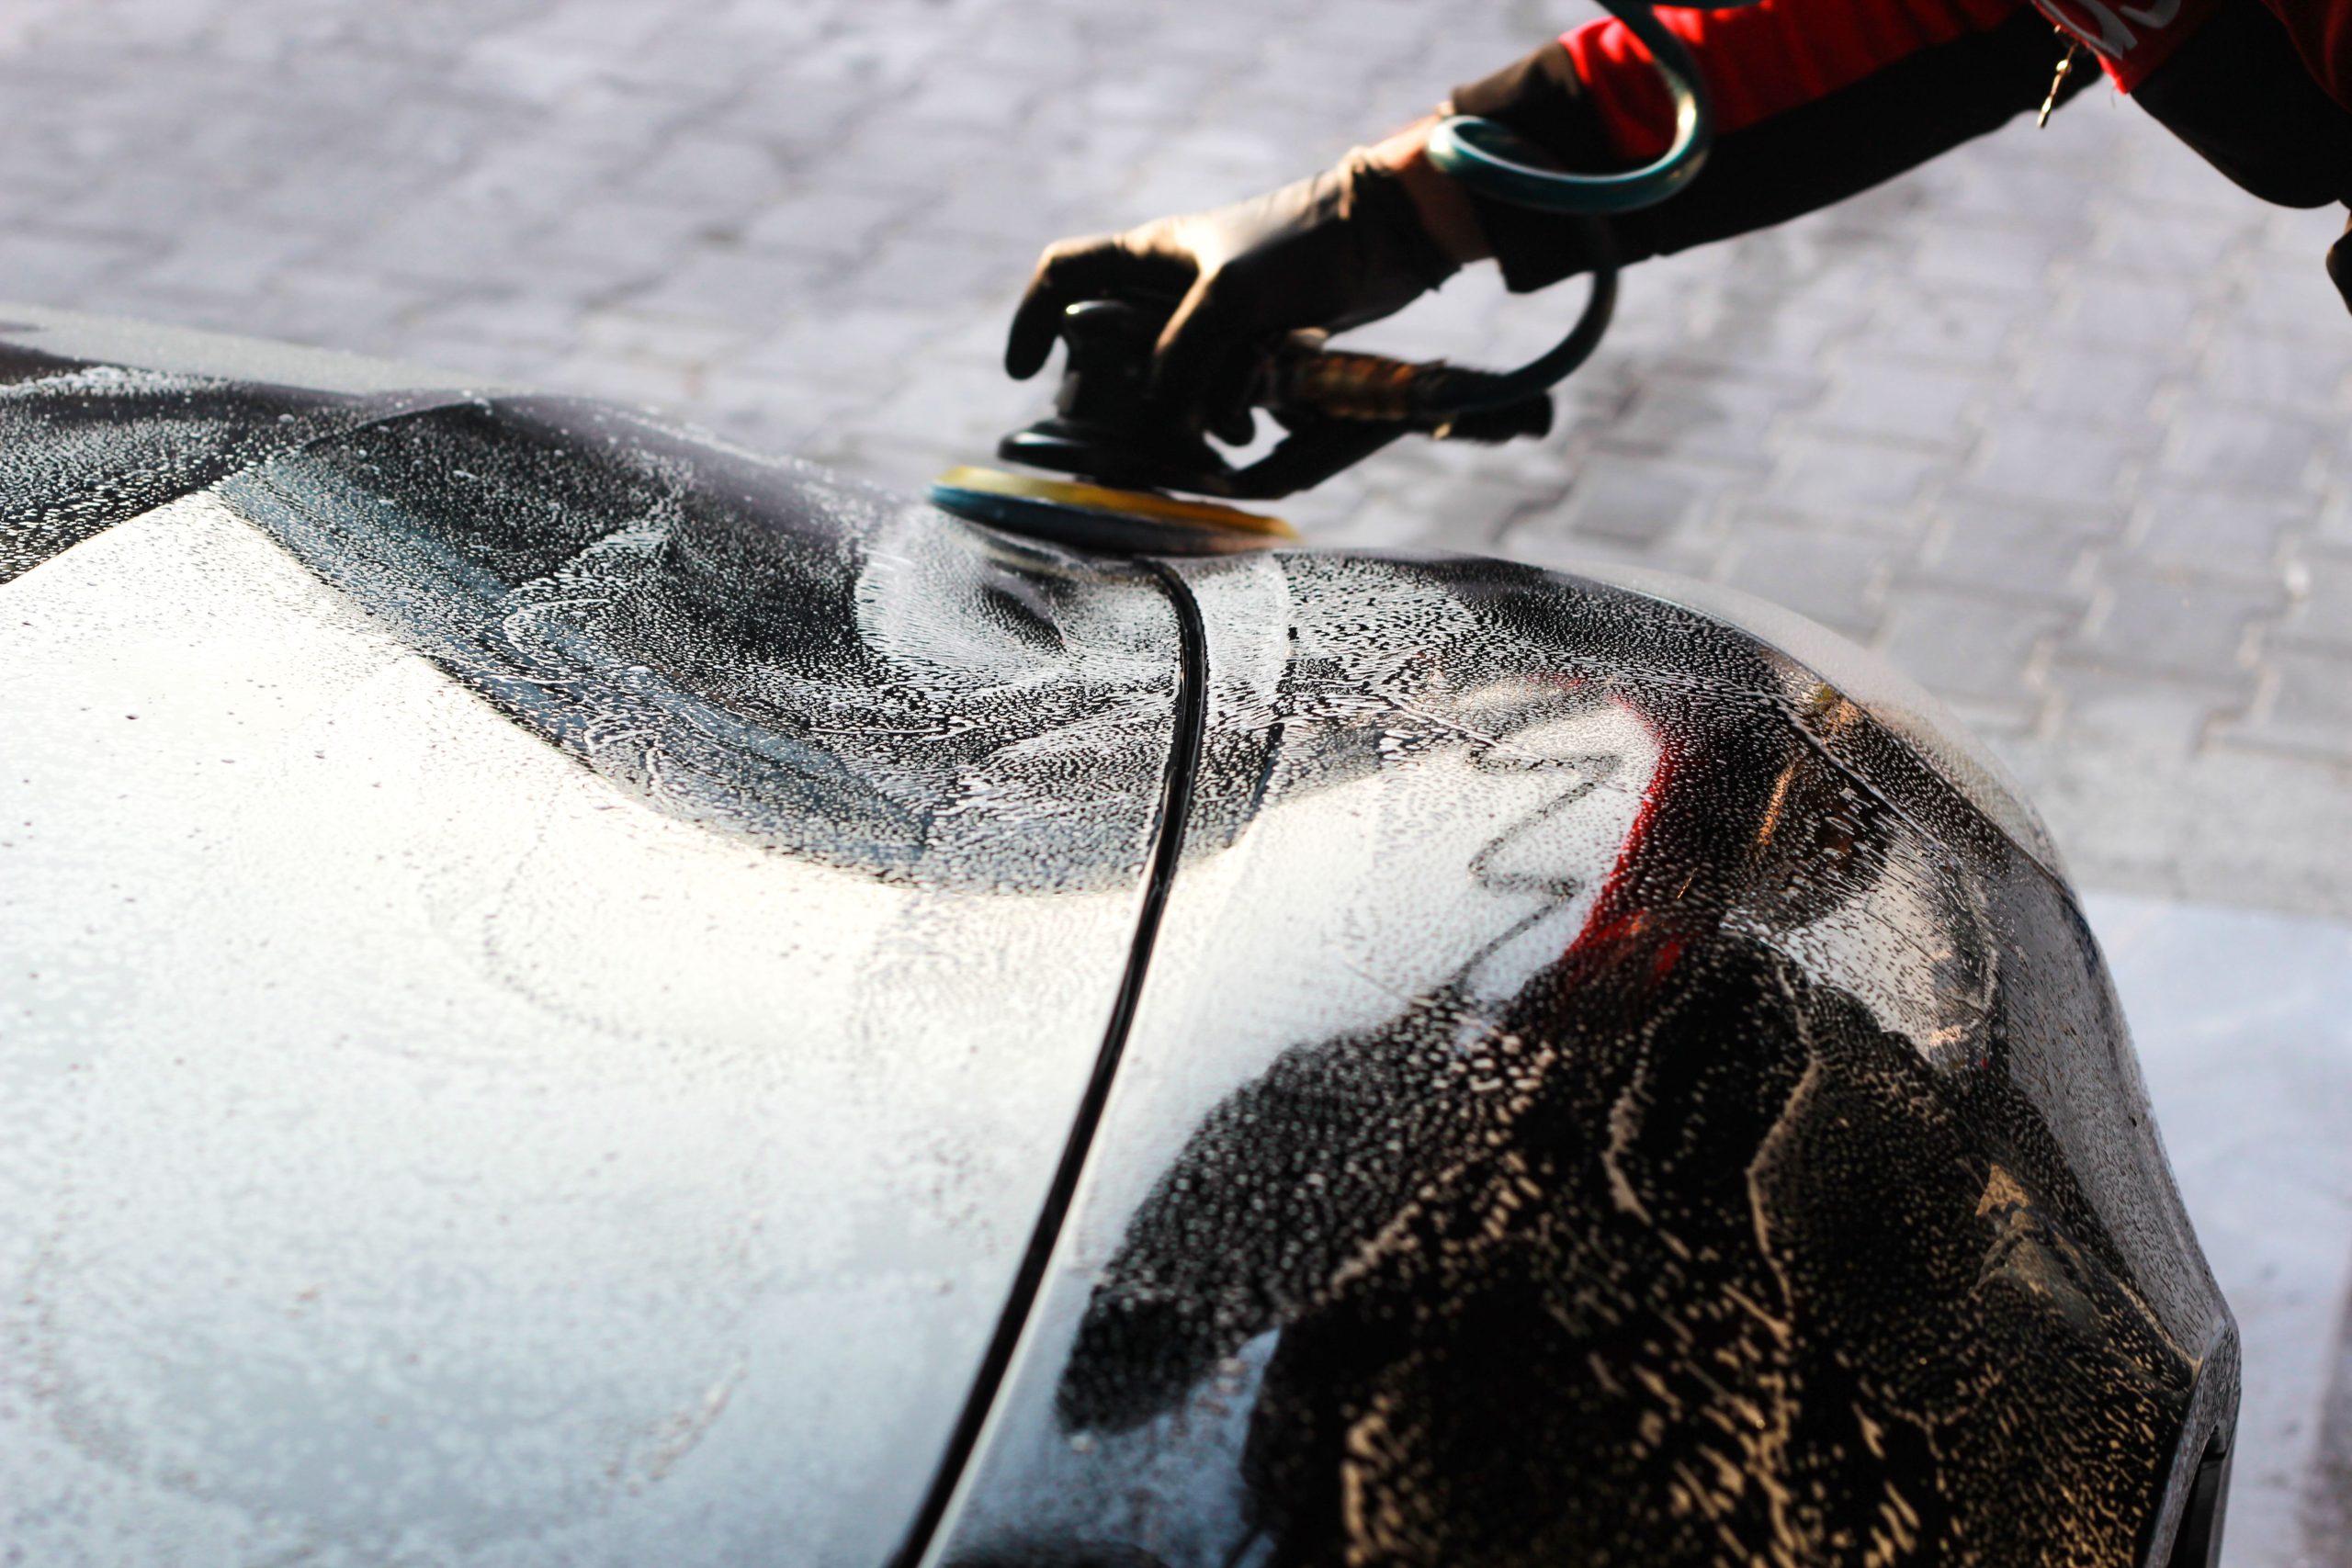
After the dwell time, wipe away the dissolved tar with a clean microfiber towel using light pressure — resist the urge to scrape at stubborn spots with a fingernail, a razor blade, or any hard object, since that risks scratching through the clear coat. If a spot doesn’t come up fully on the first pass, reapply the product and let it dwell again rather than pressing harder.
If what you’re actually looking at turns out to be more than surface tar — say, overspray or paint transfer from another vehicle — the removal approach differs. Our guide on getting paint off a car covers the escalation process for that specific problem, and our guide on removing scratches from a car helps if the tar removal process reveals a scratch underneath that was previously hidden by the tar itself.
Step 5: Wash and Protect the Treated Area
No matter which product you use, wash the treated area afterward and apply wax or sealant — tar removers strip away existing wax right along with the tar, leaving the paint temporarily unprotected against UV exposure and future contamination (Torque Detail). Skipping this step is a common reason the same spot attracts new tar or grime faster than the rest of the car’s paint.
If you’re not sure how often your car’s overall wax layer needs refreshing beyond just the spot-treated area, our guide on how often to wax your car covers the general maintenance schedule.
What to Avoid When Removing Tar
- Scraping with a hard object — razor blades, fingernails, or plastic scrapers all risk scratching the clear coat.
- Skipping the pre-wash — wiping tar spots on a dirty car grinds surface dirt into the paint.
- Using strong solvents not intended for paint — some industrial degreasers are too aggressive and can damage clear coat or trim.
- Removing tar in direct sunlight on a hot panel — heat can cause some solvents to evaporate too fast to work effectively, and hot paint is generally more vulnerable to abrasion.
Frequently Asked Questions
Does tar removal work on old, hardened tar spots?
Yes, though older tar typically needs a longer dwell time or a second application, since it’s had more time to bond and harden onto the paint surface compared to fresh tar.
Can tar permanently stain car paint if left too long?
It can, particularly in hot climates where UV exposure bakes the tar further into the clear coat over weeks or months — this is part of why prompt removal matters more than it might seem for a purely cosmetic issue.
Is it safe to use these products on plastic trim or rubber seals?
Some solvents, particularly stronger ones, can dull or discolor plastic trim and rubber seals with repeated use — test in an inconspicuous spot first, or shield trim pieces with tape before treating nearby paint.
How often does a daily driver typically pick up tar spots?
It varies heavily by where you drive — highway commuters in hot climates or areas with recent road paving tend to accumulate tar spots noticeably faster than drivers who stick to residential streets.
The Bottom Line
Removing tar from a car comes down to five steps: wash first, apply a dedicated tar remover, WD-40, or Goo Gone, let it dwell about 10 minutes, wipe gently with a microfiber cloth, then wash and wax the treated area. Avoid scraping or working on a dirty, hot panel, and address tar spots promptly rather than letting them bake into the clear coat over time.
Dealing with paint damage that DIY tar removal couldn’t fully fix? Contact San Diego Bumper and Collision for a professional assessment.



